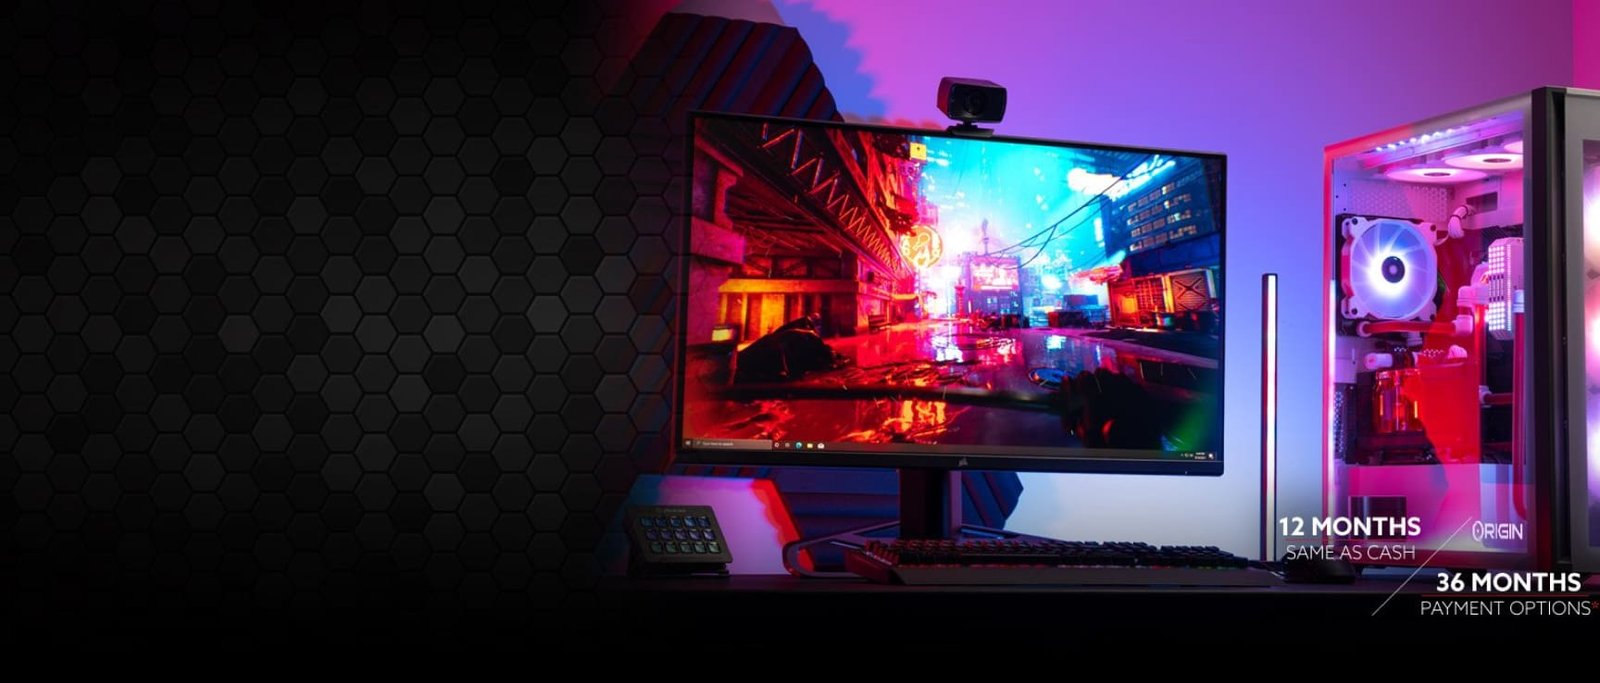
Building a custom PC can seem like a daunting task, especially if you’re new to the world of DIY computer assembly. But with the right guidance and a little bit of patience, you can create a high-performance custom PC that perfectly fits your needs. Whether you’re looking to build a gaming powerhouse, a workstation for content creation, or a general-use PC, this guide will walk you through the entire process of building a custom PC from start to finish.
Why Build a Custom PC?
Before diving into the steps of building a custom PC, it’s important to understand why you might want to build one in the first place. A custom PC offers several advantages over pre-built systems, including:
Customization: When you build a custom PC, you have complete control over the components that go into your system. This means you can choose the best parts for your specific needs, whether you’re focusing on gaming, video editing, or general use.
Performance: By selecting high-quality components, you can build a custom PC that delivers better performance than most off-the-shelf computers. Whether you’re gaming at high resolutions, rendering 3D models, or multitasking, a custom PC can handle it all.
Upgradeability: A custom PC is easier to upgrade than a pre-built system. As technology evolves, you can replace individual components to keep your custom PC up to date without having to buy a whole new machine.
Step 1: Choosing the Right Components
The first step in building a custom PC is selecting the right components. The components you choose will determine the overall performance and capabilities of your custom PC. Here’s a breakdown of the key components you’ll need:
1. CPU (Central Processing Unit): The CPU is the brain of your custom PC. It handles all the processing tasks, so it’s important to choose a CPU that’s powerful enough for your needs. For gaming, a high-clock-speed CPU is essential. For content creation and multitasking, a multi-core processor will be beneficial.
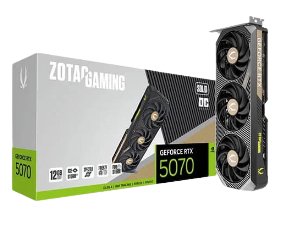
2. GPU (Graphics Processing Unit): The GPU is responsible for rendering images and videos on your custom PC. If you’re building a gaming PC or a workstation for video editing, a powerful GPU is a must. Look for a GPU with a high amount of VRAM and strong performance benchmarks.
3. Motherboard: The motherboard is the backbone of your custom PC, connecting all the components together. When choosing a motherboard, make sure it’s compatible with your CPU and has enough ports and slots for your other components.
4. RAM (Random Access Memory): RAM is crucial for smooth multitasking and fast performance on your custom PC. Aim for at least 16GB of RAM for most tasks, but consider 32GB or more if you’re working with large files or running memory-intensive applications.
5. Storage: Storage options for your custom PC include HDDs (Hard Disk Drives) and SSDs (Solid State Drives). SSDs are faster and more reliable, making them the preferred choice for your operating system and important applications. Consider adding an HDD for additional storage space if needed.
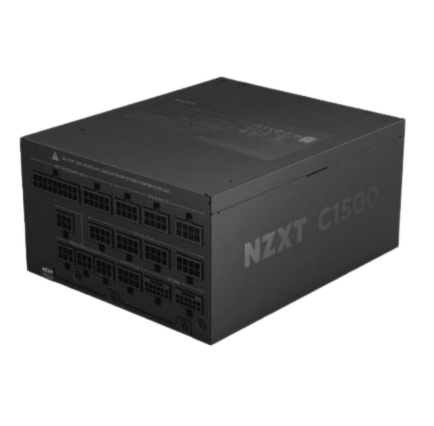
6. Power Supply Unit (PSU): The PSU provides power to all the components in your custom PC. It’s important to choose a PSU with enough wattage to support your components, with some extra headroom for future upgrades.
7. Case: The case houses all the components of your custom PC. Choose a case that’s compatible with your motherboard and has good airflow to keep your system cool.
8. Cooling: Cooling is essential to prevent your custom PC from overheating. Depending on your build, you might need additional case fans or a more advanced cooling solution like a liquid cooler.
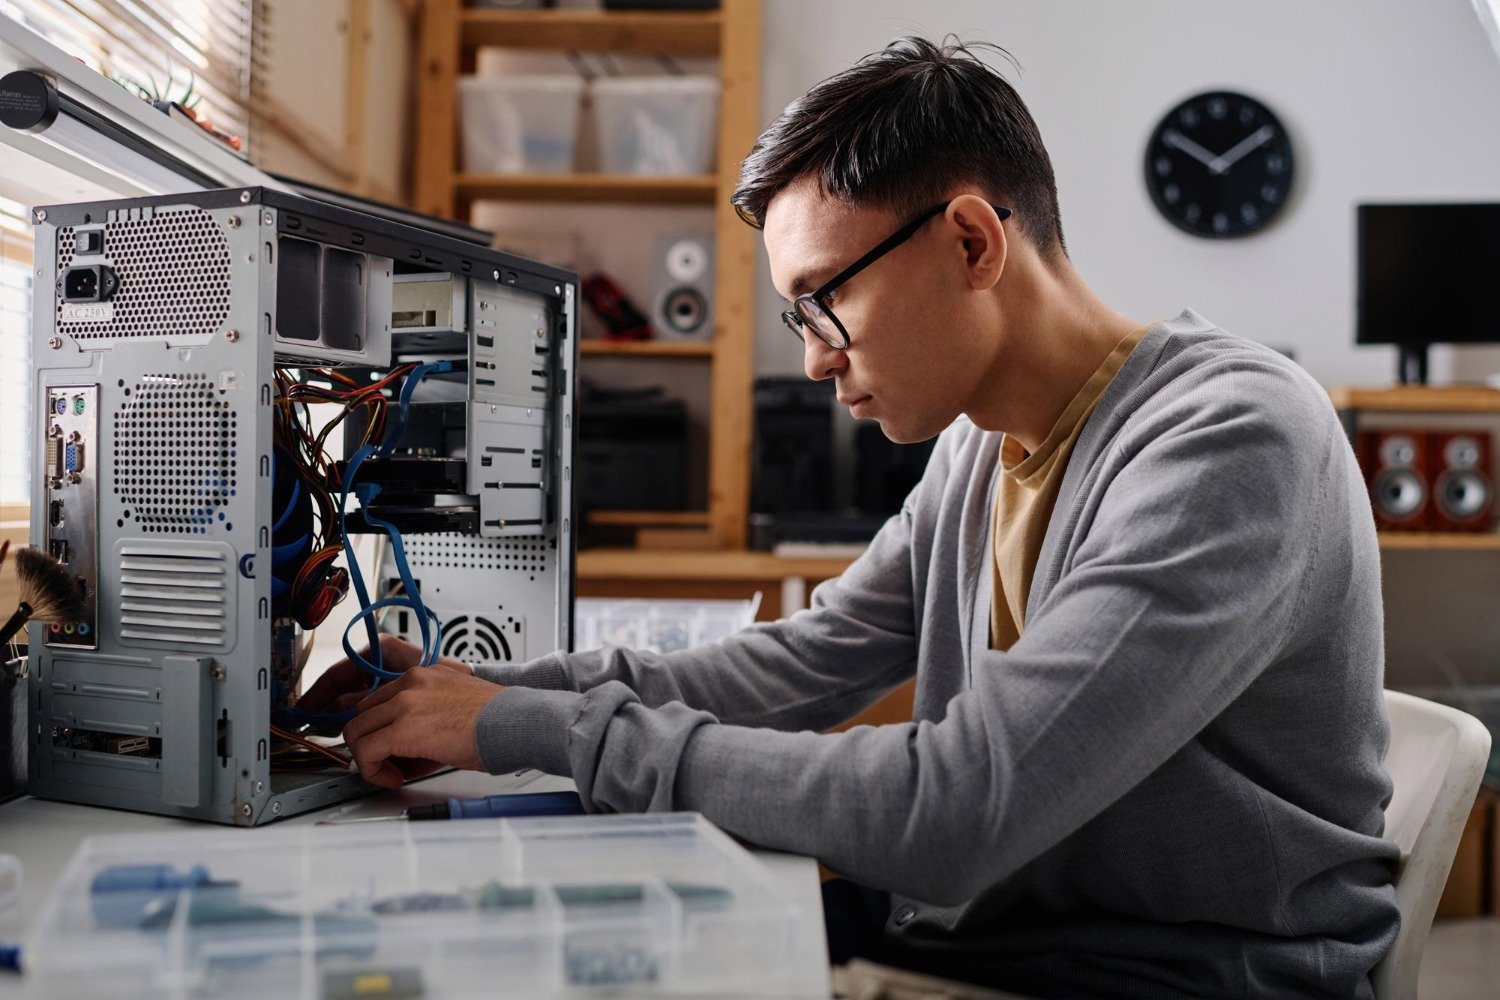
Step 2: Assembling Your Custom PC
Once you’ve gathered all your components, it’s time to start assembling your custom PC. Follow these steps to put everything together:
1. Prepare Your Workspace: Make sure you have a clean, static-free workspace to assemble your custom PC. Gather all your tools, including a screwdriver, and keep your components organized.
2. Install the CPU: Start by installing the CPU onto the motherboard. Be careful to align the CPU with the socket, and gently secure it in place.
3. Install the RAM: Next, install the RAM modules into the RAM slots on the motherboard. Make sure the notches on the RAM modules align with the slots.
4. Install the Motherboard: Place the motherboard into the case, aligning it with the standoff screws. Secure the motherboard with screws.
5. Install the GPU: Insert the GPU into the PCIe slot on the motherboard. Secure it with screws and connect any power cables from the PSU.
6. Install Storage Drives: Mount your SSDs or HDDs in the appropriate bays within the case. Connect them to the motherboard using SATA cables.
7. Connect the PSU: Connect the power supply unit to the motherboard, CPU, GPU, and storage drives. Make sure all connections are secure.
8. Install Cooling Solutions: If you’re using additional cooling, install case fans or a liquid cooler according to the manufacturer’s instructions.
9. Connect the Cables: Connect all necessary cables, including power cables, data cables, and front panel connectors.
10. Test Your Build: Before closing the case, power on your custom PC to ensure everything is working correctly. If it boots successfully, you’re ready to install your operating system.
Step 3: Installing the Operating System and Drivers
With your custom PC assembled, the next step is to install the operating system and necessary drivers. Here’s how:
1. Install the Operating System: Insert your OS installation media (USB drive or DVD) and boot from it. Follow the on-screen instructions to install the operating system on your custom PC.
2. Install Drivers: Once the OS is installed, download and install the latest drivers for your components, including the GPU, motherboard, and network adapter. This ensures your custom PC runs smoothly and efficiently.
3. Update Your System: After installing the drivers, check for system updates to keep your custom PC secure and up to date.
Step 4: Optimizing Your Custom PC
To get the most out of your custom PC, take some time to optimize it for performance:
- Overclocking: If your CPU and GPU support overclocking, consider tweaking the settings to boost performance. Be cautious, as overclocking can increase heat output.
- Regular Maintenance: Keep your custom PC clean and dust-free. Regularly update your software and drivers to ensure optimal performance.
- Backup Your Data: Use cloud storage or external drives to back up important data from your custom PC regularly.
Conclusion
Building a custom PC is a rewarding experience that allows you to create a machine tailored to your specific needs. Whether you’re a gamer, content creator, or just need a reliable computer for everyday tasks, a custom PC offers unparalleled performance, customization, and upgradeability. By following this guide, you’ll be well on your way to building a custom PC that will serve you for years to come.
Remember, the key to building a great custom PC is choosing the right components, assembling them carefully, and optimizing your system for peak performance. So, what are you waiting for? Start planning your custom PC build today and join the growing community of DIY tech enthusiasts!